
Usually i work with stable releases of FFmpeg as i feel more comfortable using it in stable state on a daily basis. Of course, for some bugfixes i were waiting for i switch to the nightly build until the next stable release comes out. Anyway, using a version of FFmpeg on OS X installed through Homebrew you have to stick with the latest implemented stable release on Homebrew. As recently FFmpeg 2.0 was released with some great new features i wanted to try it as soon as possible without compiling everything from scratch. For this, it came to my mind that i could use all the libraries of my Homebrew FFmpeg version and just compile it with a new core. And it was not that hard as it might sound.
If you have not installed FFmpeg yet using Homebrew, check out this article where i describe how to do it.
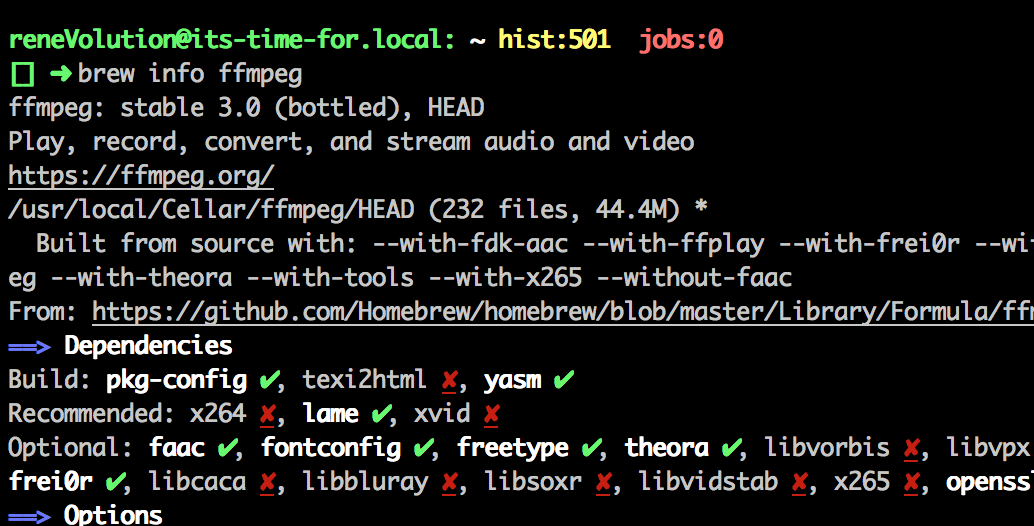
Get the compiler flags
Thanks to the FFmpeg.Developers it is really easy to get the configuration flags your current version is compiled with. Simply execute $ ffmpeg on your commandline and you will see something like this:
ffmpeg version 1.2 Copyright (c) 2000-2013 the FFmpeg developers
  built on Mar 22 2013 08:17:36 with Apple LLVM version 4.2 (clang-425.0.24) (based on LLVM 3.2svn)
  configuration: --prefix=/usr/local/Cellar/ffmpeg/1.2 --enable-shared --enable-pthreads --enable-gpl --enable-version3 --enable-nonfree --enable-hardcoded-tables --enable-avresample --enable-vda --cc=cc --host-cflags= --host-ldflags= --enable-libx264 --enable-libfaac --enable-libmp3lame --enable-libxvid --enable-libfreetype --enable-libtheora --enable-libvorbis --enable-libvpx --enable-librtmp --enable-libopencore-amrnb --enable-libopencore-amrwb --enable-libvo-aacenc --enable-libass --enable-ffplay --enable-libspeex --enable-libschroedinger --enable-libfdk-aac --enable-libopus --enable-libopenjpeg --extra-cflags='-I/usr/local/Cellar/openjpeg/1.5.1/include/openjpeg-1.5 '
  libavutil      52. 18.100 / 52. 18.100
  libavcodec     54. 92.100 / 54. 92.100
  libavformat    54. 63.104 / 54. 63.104
  libavdevice    54.  3.103 / 54.  3.103
  libavfilter     3. 42.103 /  3. 42.103
  libswscale      2.  2.100 /  2.  2.100
  libswresample   0. 17.102 /  0. 17.102
  libpostproc    52.  2.100 / 52.  2.100
Hyper fast Audio and Video encoder
usage: ffmpeg [options] [[infile options] -i infile]... {[outfile options] outfile}...

Use -h to get full help or, even better, run 'man ffmpeg'
The most important for us now is this part:
--enable-shared --enable-pthreads --enable-gpl --enable-version3 --enable-nonfree --enable-hardcoded-tables --enable-avresample --enable-vda --cc=cc --host-cflags= --host-ldflags= --enable-libx264 --enable-libfaac --enable-libmp3lame --enable-libxvid --enable-libfreetype --enable-libtheora --enable-libvorbis --enable-libvpx --enable-librtmp --enable-libopencore-amrnb --enable-libopencore-amrwb --enable-libvo-aacenc --enable-libass --enable-ffplay --enable-libspeex --enable-libschroedinger --enable-libfdk-aac --enable-libopus --enable-libopenjpeg --extra-cflags='-I/usr/local/Cellar/openjpeg/1.5.1/include/openjpeg-1.5'These are our configuration flags we will use later.
Prepare your environment
Next we need to create a folder where our “special”-version of FFmpeg will live in. Later we will be able to have multiple versions of FFmpeg, isn’t that great? So, i decided to create a folder called ffmpeg-latest in /usr/local/ with
$ mkdir /usr/local/ffmpeg-latest.
Get FFmpeg
Now we will go and get the latest FFmpeg from Git and download it to the /tmp folder as we will not not need it anymore after compiling.
So, first change the directory to /tmp with $ cd /tmp and get FFmpeg using
$ git clone git://source.ffmpeg.org/ffmpeg.git ffmpeg. If you have no git installed, you can install it using Homebrew with
$ brew install gitand try it again. The complete source code should now be available in /tmp/ffmpeg.
Build your configure command
At least we have to complete the configure command so FFmpeg can find all libraries. We just need to modify the prefix-flag and add two extra flags to tell FFmpeg where to look for libs and includes. As we chosed /usr/local/ffmpeg-latest as our installation directory, this will also be the value for the prefix-flag.
On a default installation Homebrew will install the includes in /usr/local/Cellar/include and all libraries in /usr/local/Cellar/libs. If you have installed Homebrew on a different way or anything has changed meanwhile, you need to check where your libs/include-folders are. To have FFmpeg looking into those folders we have to add –extra-cflags=’-I/usr/local/Cellar/include’ and –extra-ldflags=’-L/usr/local/Cellar/lib’ to our configure command.
Putting it together:
--prefix=/usr/local/ffmpeg-latest --extra-cflags='-I/usr/local/Cellar/include' --extra-ldflags='-L/usr/local/Cellar/lib' --enable-shared --enable-pthreads --enable-gpl --enable-version3 --enable-nonfree --enable-hardcoded-tables --enable-avresample --enable-vda --cc=cc --host-cflags= --host-ldflags= --enable-libx264 --enable-libfaac --enable-libmp3lame --enable-libxvid --enable-libfreetype --enable-libtheora --enable-libvorbis --enable-libvpx --enable-librtmp --enable-libopencore-amrnb --enable-libopencore-amrwb --enable-libvo-aacenc --enable-libass --enable-ffplay --enable-libspeex --enable-libschroedinger --enable-libfdk-aac --enable-libopus --enable-libopenjpeg --extra-cflags='-I/usr/local/Cellar/openjpeg/1.5.1/include/openjpeg-1.5'Compile it
Now we can compile it. First change the directory to /tmp/ffmpeg with
$ cd /tmp/ffmpeg. After that you’re ready to fire the configure command like this:
$ ./configure --prefix=/usr/local/ffmpeg-latest --extra-cflags='-I/usr/local/Cellar/include' --extra-ldflags='-L/usr/local/Cellar/lib' --enable-shared --enable-pthreads --enable-gpl --enable-version3 --enable-nonfree --enable-hardcoded-tables --enable-avresample --enable-vda --cc=cc --host-cflags= --host-ldflags= --enable-libx264 --enable-libfaac --enable-libmp3lame --enable-libxvid --enable-libfreetype --enable-libtheora --enable-libvorbis --enable-libvpx --enable-librtmp --enable-libopencore-amrnb --enable-libopencore-amrwb --enable-libvo-aacenc --enable-libass --enable-ffplay --enable-libspeex --enable-libschroedinger --enable-libfdk-aac --enable-libopus --enable-libopenjpeg --extra-cflags='-I/usr/local/Cellar/openjpeg/1.5.1/include/openjpeg-1.5'I assume this will work without any issues and you can go further to build your new ffmpeg version using
$ make. This will take a few minutes so take a break and get a coffee ;).
If this has also finished without any errors ( warnings are quite normal here ) you can install it using
$ sudo make install. After completition of this command your finally done.
You can now execute your new FFmpeg version using
$ /usr/local/ffmpeg-latest/bin/ffmpeg.
Extra: Create a symlink
As i usually like to have my tools in the system path environment i’ll show how to create a symlink for your new FFmpeg version so the binary remains in /usr/local/ffmpeg-latest/bin but you don’t need to add the path into your system path which would also come to an error as you have another FFmpeg binary in your path. Anyway, i prefer to create a symlink in /usr/local and here’s how it’s been done:
$ ln -s /usr/local/ffmpeg-latest/bin/ffmpeg /usr/local/bin/ffmpeg-latestFrom this time you can simply execute
$ ffmpeg-latestto use the latest version.